How to make a
clothing tech pack
The short answer
To make a tech pack, start from a reference garment, draw technical flats, list every material, set measurements with tolerances, grade the sizes, then add construction, labels and packing. Keep one dated version and update it through sampling.
A complete pack lets factories quote the same garment, so you can compare prices fairly and cut sample rounds. Gaps get filled with the factory's guesses, and guesses cost samples.
Sources: GarmentSpec, TechDraw AI, Points of Measure, Clothix. Example values are illustrative.
What goes in a tech pack
Eight sheets, each answering one question a factory would otherwise guess. Pick one to see a worked hoodie example.
Example: pullover hoodie
- Style
- Pullover hoodie, with style number
- Base size
- M
- Colourways
- Each one named
- Version
- Number and date on every change
How to make a tech pack, step by step
Build it in this order. Each step feeds the next: the flat sets your measurements, and the measurements set your grading.
Step 1. Start from a reference garment
Pick one real garment, or one clear image with dimensions, and treat it as your control sample.
Photograph it flat, front and back. Then write down exactly what you want to change: body 2 cm longer, sleeve 1 cm shorter, deeper hood. Every later step is measured against this.
Common mistake: Starting from a mood board. A Pinterest board can't tell anyone how long the sleeve is.
Source: GarmentSpec
Step 2. Draw the technical flats
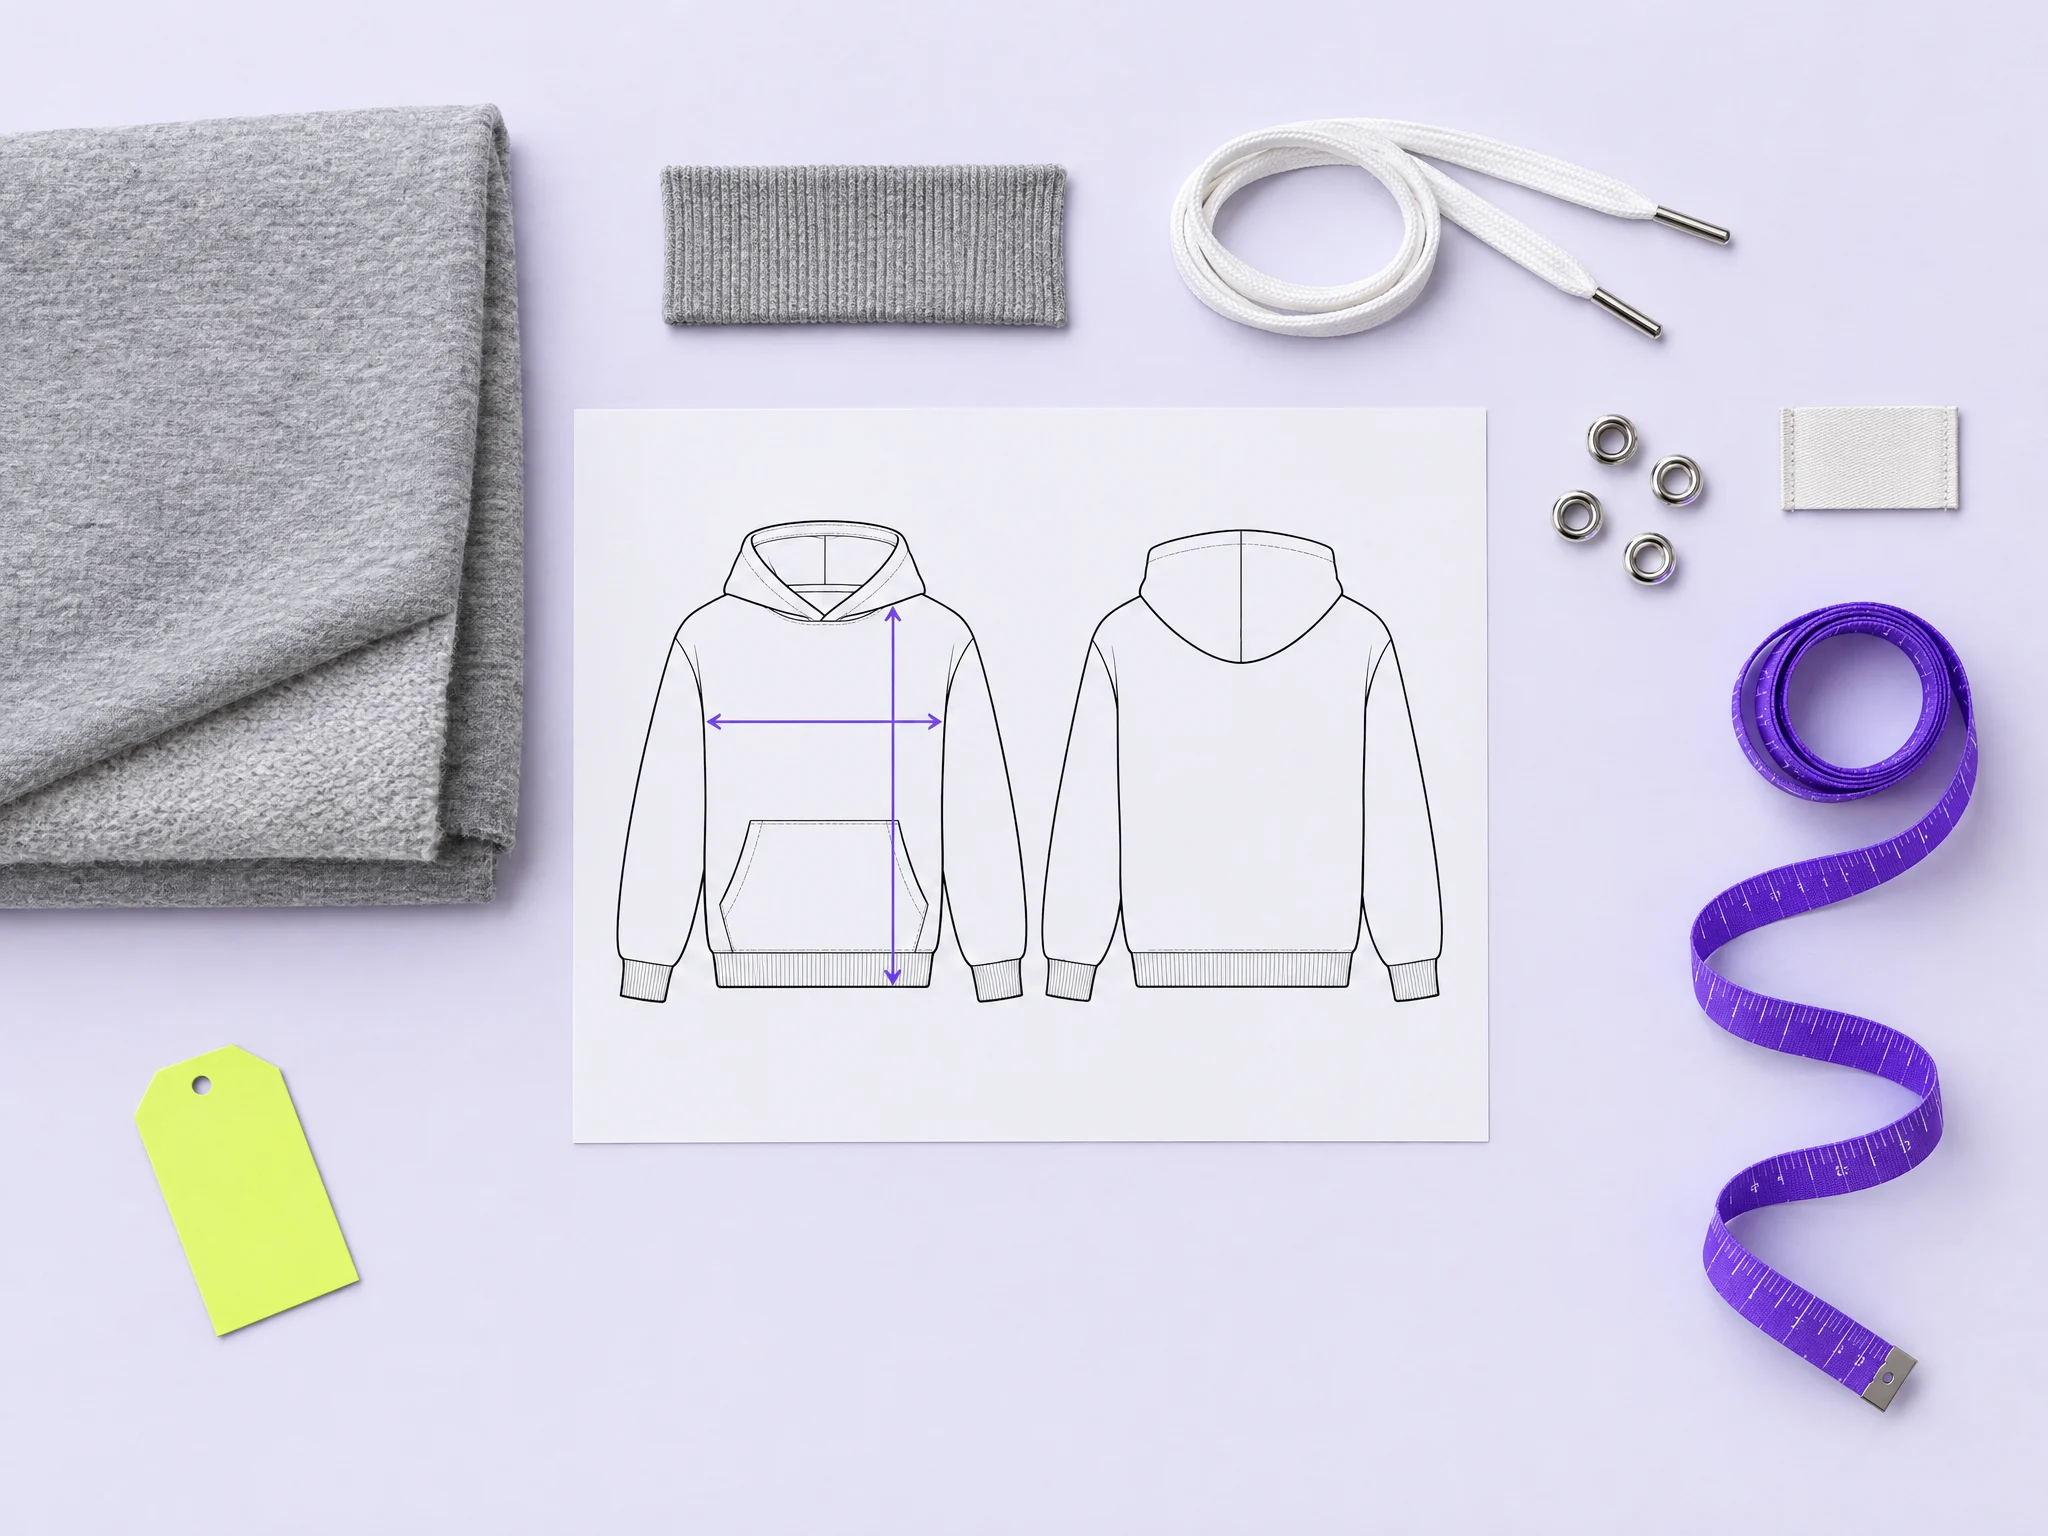
Draw the front and back in black and white, to scale, with every seam and detail showing.
This is a working drawing, not fashion art: no body, no shading. Illustrator is the usual tool, but Inkscape or Affinity Designer work too. Keep every view at the same scale, because your measurement points will sit on these drawings.
Common mistake: Flats out of proportion. The pocket looks right on paper and lands in the wrong place once graded.
Source: GarmentSpec
Step 3. List every material in the bill of materials
Log every component with its spec, colour, supplier reference and placement.
Fabric needs composition, weight in gsm, construction and finish. Then add lining, thread, ribbing, zips, buttons, cords, labels, tags and the bag it ships in. Walk the garment top to bottom so nothing hidden gets missed.
Bill of materials extract, pullover hoodie Component Spec Placement Body fabric 340gsm brushed-back French terry Whole body Ribbing 2x1 rib, matching colour Cuffs and hem Thread Tex 40, tonal All seams Main label Woven Centre back neck Common mistake: Listing the fabric and forgetting the trims. A factory that can't identify your trim quotes the one it has in stock.
Source: TechDraw AI, GarmentSpec
Step 4. Set points of measure and tolerances
For each measurement, say exactly where the tape goes, the value in your base size, and how far off is still a pass.
Name the base size on the sheet, usually a medium. Define every point precisely: chest width 1 in below the armhole is a different number from chest at its widest. Put a tolerance on every row. Clothix lists ±1 cm on a chest and ±0.5 cm on a neck as ordinary starting points; agree yours with the factory.
One spec sheet row, base size M Code Point of measure Base Tolerance A Chest width, 1 in below armhole 54.5 cm ± 0.6 cm Common mistake: Leaving the tolerance column blank. Then the factory picks, and its pick will be wider than yours.
Source: TechDraw AI, Clothix
Step 5. Grade the size run
Give every point of measure its own rule for how it changes between sizes.
Do this once the base size is fixed. Chests grow faster than necks, and sleeve length grows slower than body length. Check your smallest and largest sizes against a body measurement table, such as ASTM D5585, so the ends of the run still fit real people.
Common mistake: Stopping at the medium. The factory then applies its house rules, and you lose control of fit across the run.
Source: GarmentSpec, Clothix
Step 6. Add construction, artwork, labels and packing
Spell out how each area is sewn and finished, then what goes on, in and around the garment.
Note seam and stitch types, stitches per inch and seam allowances per area. Add artwork files with placement, size and colours. Give every label its wording and position. Finish with folding, polybag, hang tag, barcode and carton.
Common mistake: Edges with no instruction. Every panel edge is joined, finished or folded; leave one blank and a sewer decides.
Source: TechDraw AI, Clothix
Step 7. Version it and keep it live through sampling
Send one style per file, date every version, and record each sample's fixes against that version.
A sample review page holds the measurements as the sample arrived, photos, and the changes needed to reach approval. Add one per sample round. The approved version becomes the record your bulk order, QC and reorders are checked against.
Common mistake: Fit comments spread across WhatsApp, email and PDFs. The bulk order gets made to whichever one the factory saw last.
Source: Points of Measure, GarmentSpec